Unleashing the Power of 3D Text Effects in Photoshop: A Step-by-Step Guide
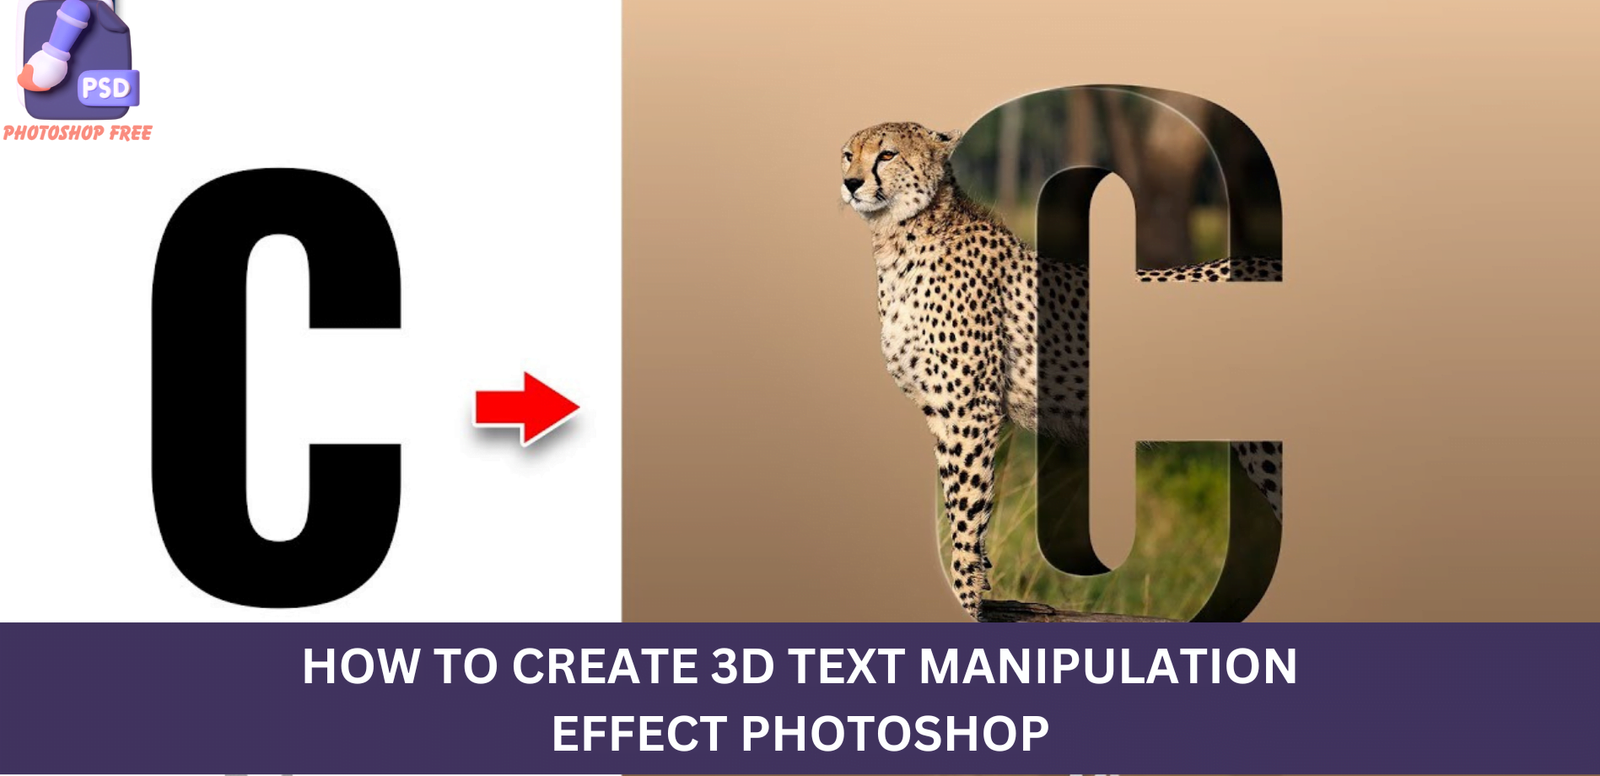
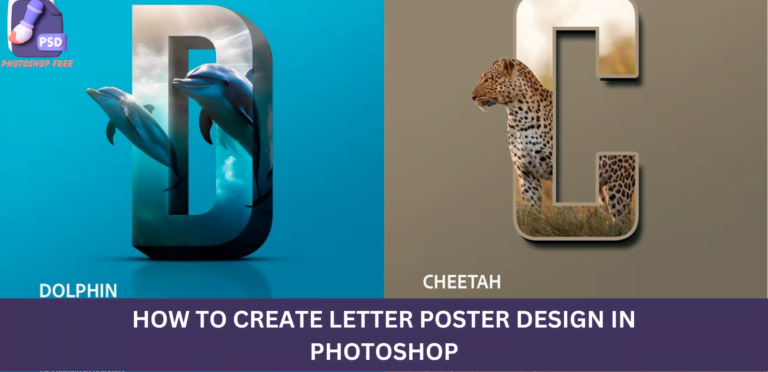
3D Text Effects in Photoshop: In this comprehensive tutorial, we will delve into the intricate process of creating stunning 3D text effects in Photoshop. If you’ve ever wondered how to elevate your design game with captivating text, you’re in the right place. Buckle up as we guide you through each meticulous step, ensuring you not only grasp the technique but master it.
Keep visiting Photoshop Free. for latest updates and Tutorials.
3D Text Effects in Photoshop Video Tutorial
Getting Started: Choosing the Right Font and Text Entry
The foundation of any remarkable 3D text effect lies in the selection of the bold and captivating font. Begin by opening Photoshop and selecting the Text Tool. As you embark on this creative journey, the choice of font can make or break your design. For optimal results, consider using the font provided in the tutorial. You can find the download link conveniently placed in the description.
Crafting Your Text: A Symphony of Control and Creativity
Type your desired text and press Ctrl T to access the transformative powers of Photoshop. Adjust the text size according to your vision, ensuring it aligns seamlessly with your design aesthetic. For added flair, duplicate the text layer by pressing Ctrl + J and experiment with different text colors.
Creating a Smart Object: Elevating Your Design to the Next Level
Enhance the efficiency of your workflow by converting selected layers into a Smart Object. With the layers in focus, right-click and choose “Convert to Smart Object.” This not only streamlines the process but also provides a non-destructive editing environment.
Flipping the Canvas: A Strategic Maneuver for Visual Impact
Navigate to the File menu, choose Place Embedded, and double-click on your image. Right-click on the image layer and opt for Flip Horizontal to introduce a dynamic perspective to your design. Adjust the image size to harmonize with your text, ensuring a visually appealing composition.
Mastering Masking: Unveiling the Hidden Potential
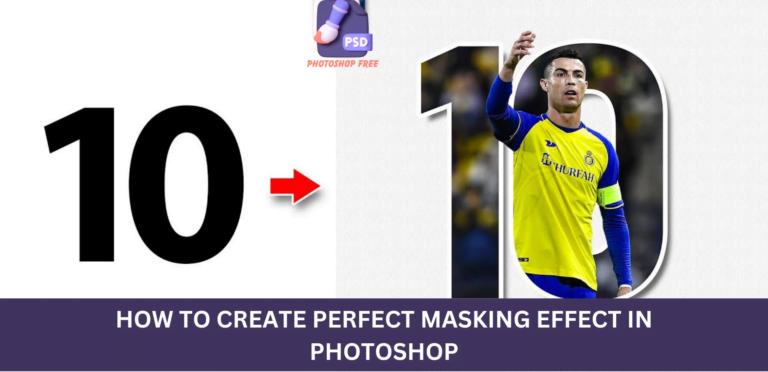
Hiding layers temporarily allows you to concentrate on specific elements of your design. Right-click on the Smart Object layer and choose Convert to Smart Object. Subsequently, go to the Select menu, choose Choose Subject, and click on the layer mask icon. Hold Ctrl and click on the thumbnail of the text layer, creating a selection around it.
Precision Brushwork: Sculpting Your Design with Finesse
Invert the selection by clicking on Inverse in the Select menu. Choose the Brush tool, set the foreground color to black, and delete the selected area. Unhide the shape layer, duplicate it by holding Alt and dragging, then clip mask it to the bottom layer for a polished finish.
Fine-Tuning with Adjustments: Perfecting the Balance
To further refine your design, add a Levels Adjustments layer and clip mask it to the bottom layer. Adjust the levels following the outlined process. For an extra layer of polish, create a new layer and clip mask it to the bottom layer, seamlessly integrating it into the overall composition.
Organizing Your Design: Grouping for Cohesiveness
Efficiently manage your layers by selecting all layers and pressing Ctrl + G to group them. Duplicate the group by pressing Ctrl J, right-click, and choose Merge Group. With your design now consolidated, press Ctrl + T, right-click, and choose Flip Vertical to introduce symmetry.
Adding Gradient Dynamics: Elevating Visual Appeal
Create a layer mask by clicking on the layer mask icon while holding Alt. Opt for the Gradient tool and follow the outlined process to infuse your design with dynamic gradients. This step adds depth and dimension, elevating your 3D text effect to new heights.
Merging Layers for the Final Touch: A Culmination of Creativity
Create a new layer and follow the outlined process to introduce a gradient adjustments layer. Press Ctrl + Alt + Shift + E to create a merged copy of all layers. Convert this to a Smart Object and open the Camera Raw Filters. Apply the recommended settings to bring your design to its fullest potential.
Conclusion: Elevate Your Design Game with 3D Mastery
In this tutorial, we’ve unlocked the secrets behind creating mesmerizing 3D text effects in Photoshop. From font selection to masking techniques, each step is a brushstroke contributing to your masterpiece. Implement these techniques judiciously, and watch your designs soar to new heights.

