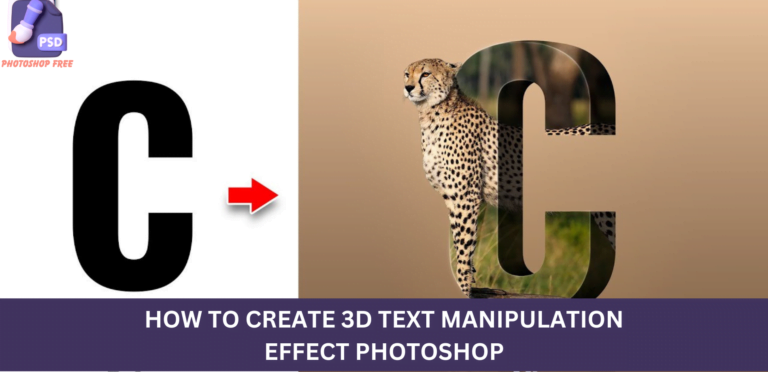
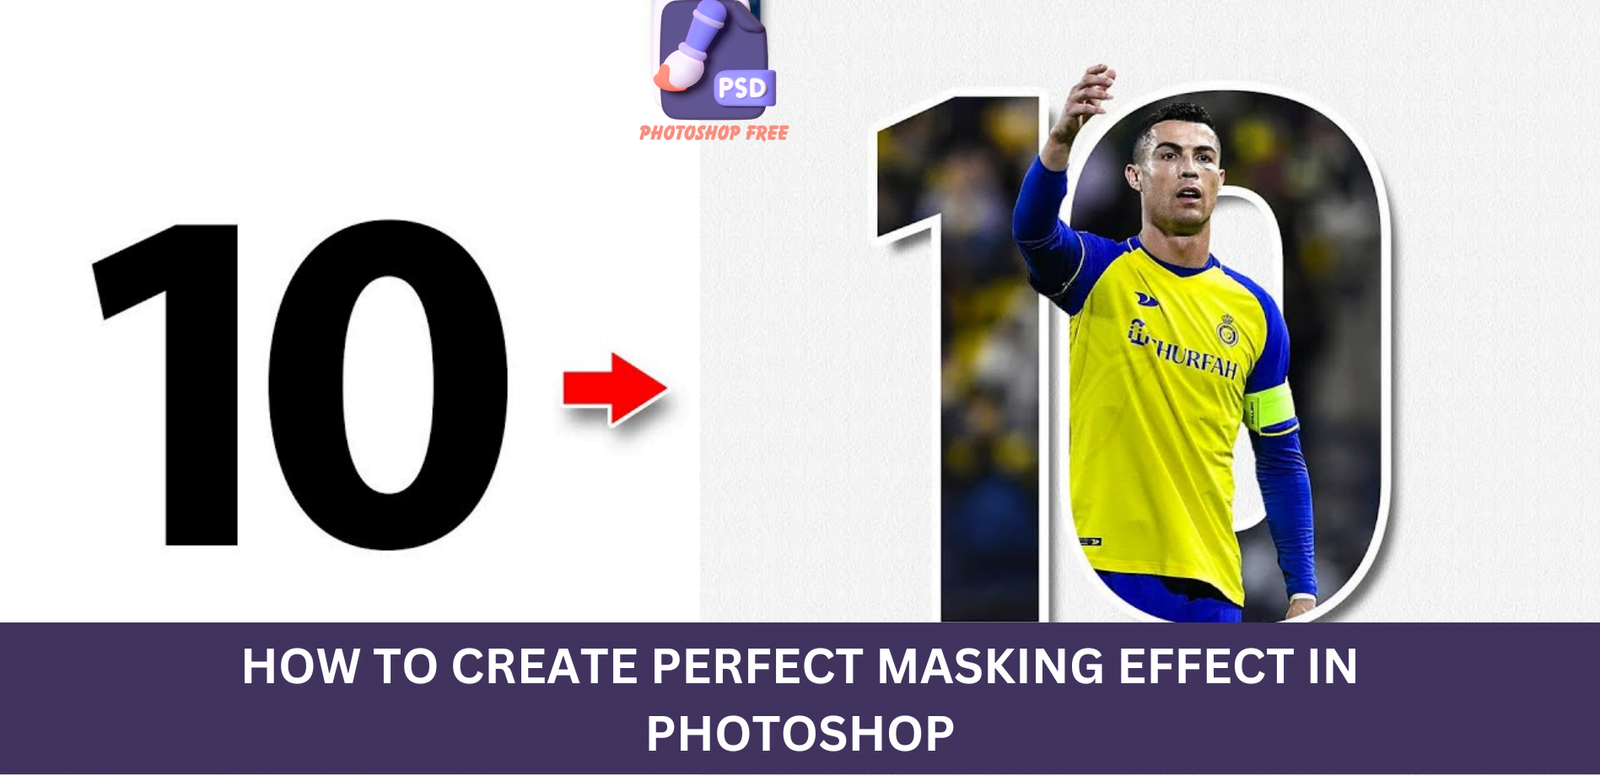
Creating the Perfect Masking Effect in Photoshop : Unveiling the Mastery
Perfect Masking Effect in Photoshop: In this tutorial, we embark on a journey to unravel the secrets of creating a mesmerizing masking effect in Photoshop. Follow our step-by-step guide, and you’ll soon be crafting stunning visuals that captivate your audience. Let’s dive right into the process.
Keep visiting Photoshop Free. for latest updates and Tutorials.
Masking Effect in Photoshop Video Tutorial
Setting the Canvas: Creating a New Document
To kickstart this creative endeavor, create a new document in Photoshop. Pay attention to the details, as precision is key in achieving a flawless masking effect. Ensure that your canvas is a blank slate, ready to transform under your artistic touch.
Texture Magic: Navigating the Filter Gallery
Navigate to the Filter menu and select the enchanting realm of the Filter Gallery. Within the texture category, choose ‘Texturize’ to add depth and dimension to your masterpiece. Experiment with the settings until you find the perfect balance that aligns with your artistic vision.
Typographic Elegance: Choosing the Right Font
Now, let’s play with typography. Armed with the type tool, select a font that resonates with your creative spirit. Feel free to explore different fonts, or if you fancy the one we’ve used, find the download link in the description to replicate our aesthetic.
Layered Brilliance: Mastering Blending Options
Double-click on the text layer to open the blending options. Start by choosing a stroke that outlines your text, providing a visual pop. Copy the stroke settings we’ve perfected for optimal results. Next, embrace the power of drop shadow by applying the settings we’ve fine-tuned to enhance the depth of your typography.
Image Integration: Bringing Your Art to Life
Insert your chosen image into the canvas and witness the magic unfold. To maintain harmony, decrease the opacity, adjusting the size and position to align seamlessly with your text. Once satisfied, reset the opacity to 100%, ensuring your image stands out in all its glory.
Duplication Magic: Amplifying Impact
To amplify the visual impact, press Ctrl+J to duplicate your image. Head to the Select menu and choose ‘Subject’ to effortlessly highlight your image. Click on the layer mask icon to seamlessly integrate the duplicated image, creating a visual symphony.
Precision Unleashed: Mastering Clipping Masks
Right-click and choose ‘Create Clipping Mask’ to bring precision to your creation. This ensures that your image stays confined within the boundaries of your text, maintaining a polished and refined look.
Artistic Finesse: Unveiling the Final Result
As you near the culmination of this artistic journey, perfection awaits. Right-click on the text layer’s thumbnail and choose ‘Select Pixels.’ Opt for ‘Layer Mask’ from the Select menu and choose ‘Inverse.’ Now, armed with a brush and a black foreground color, delicately paint to remove any excess, refining your masterpiece.
The Grand Reveal: Deselect and Admire
Press Ctrl+D to deselect, and there it is—the final result. A visually arresting creation that seamlessly combines text and image, leaving your audience in awe.
Conclusion
In this tutorial, we’ve delved into the intricacies of creating a masking effect in Photoshop that transcends the ordinary. With each step, we’ve uncovered the secrets to crafting visuals that demand attention and admiration. Now equipped with this knowledge, go forth and create, for your artistic journey has just begun.