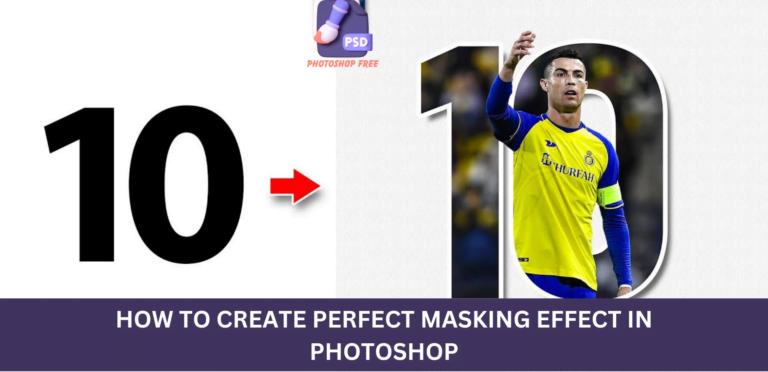
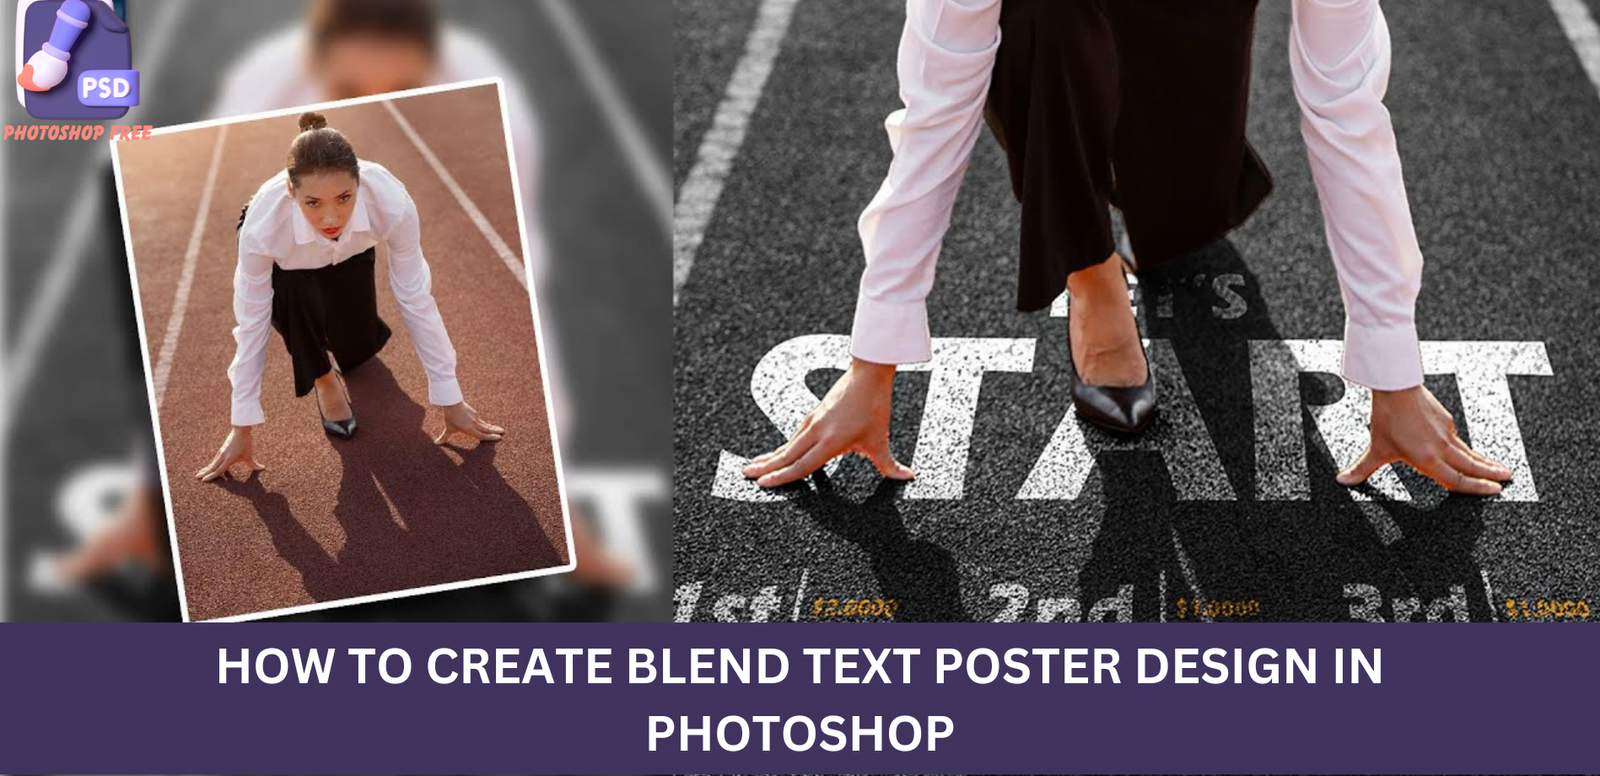
How to Create Blend Text Photoshop Poster Design: A Comprehensive Guide
Blend Text Photoshop Poster: In the ever-evolving landscape of online visibility, staying ahead of the curve is crucial. To outshine your competitors and secure a prime spot , mastering advanced techniques like duplicate background image creation and black and white adjustments can make all the difference. In this comprehensive guide, we’ll walk you through the process step by step, empowering you to elevate your content and outperform others in the digital realm.
Keep visiting Photoshop Free. for latest updates and Tutorials.
Blend Text Photoshop Poster Design Video Tutorial
Duplicate Background Image Creation
Step 1: Initiate the Process
To start, open your preferred graphic design software and load the image you wish to work on. Ensure the image is of high quality, as this contributes to the overall appeal and success of the duplicate background image.
Step 2: Add a Black and White Adjustments Layer
Once your image is loaded, create a new adjustments layer and select the black and white option. This establishes the foundation for a visually striking and cohesive design.
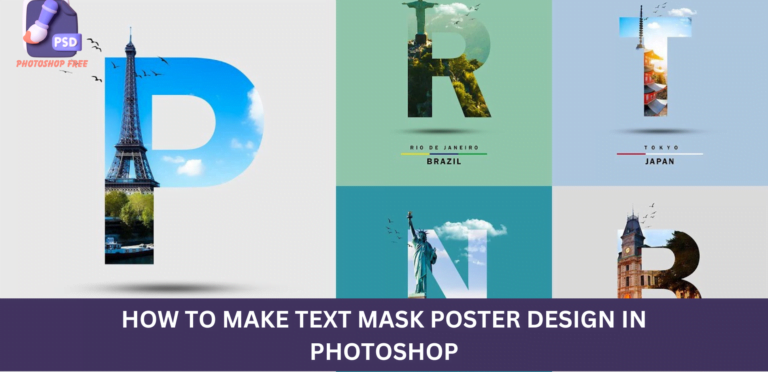
Step 3: Select and Mask
In the next crucial step, select the duplicate background layer, navigate to the Select menu, and choose Subject. Subsequently, click on the layer mask icon to refine the image further.
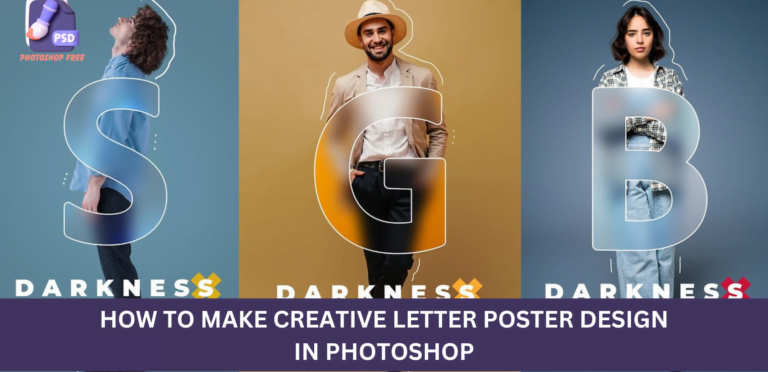
Step 4: Add Text Elements
Now, it’s time to incorporate compelling text elements into your design. Right-click on the text layer’s thumbnail, choose Select Pixels, and press Ctrl+C to copy. Create a new layer, head to the Filter menu, and select Vanishing Point.
Step 5: Transform and Adjust
Upon pasting the text, press Ctrl+V to paste it onto the new layer. Execute a free transform (Ctrl+T) to adjust the text size accordingly. Click okay, and for additional refinement, double-click on the layer to open the blending options. Experiment with the underlying sliders for optimal results.
Step 6: Rearrange Layers
To ensure your content takes centre stage, drag and drop the newly created layer under the primary layer. This strategic positioning enhances visibility and ensures a captivating user experience.