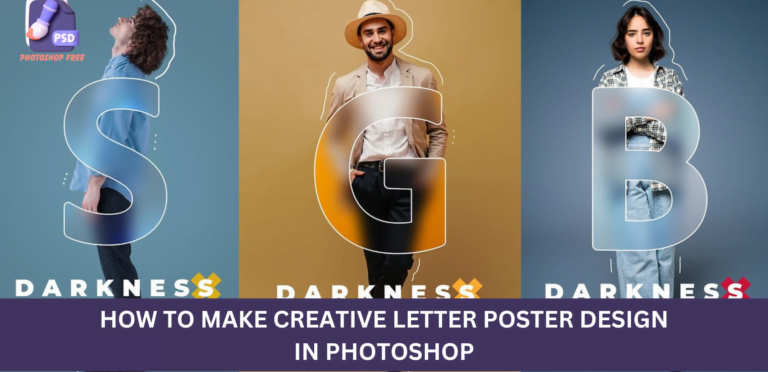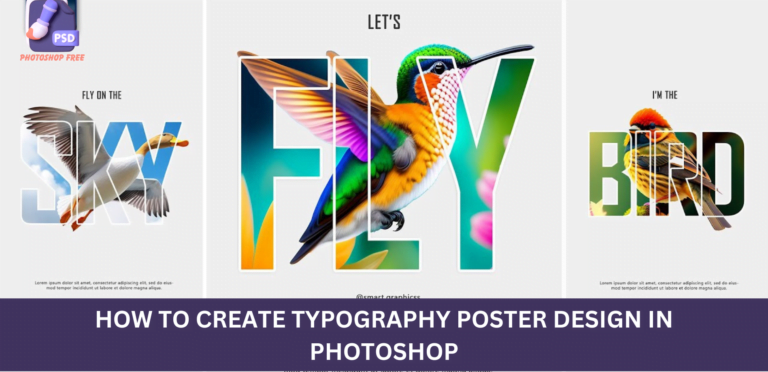
Mastering Creative Photoshop Poster Design: A Comprehensive Guide for Stunning Results
Introduction
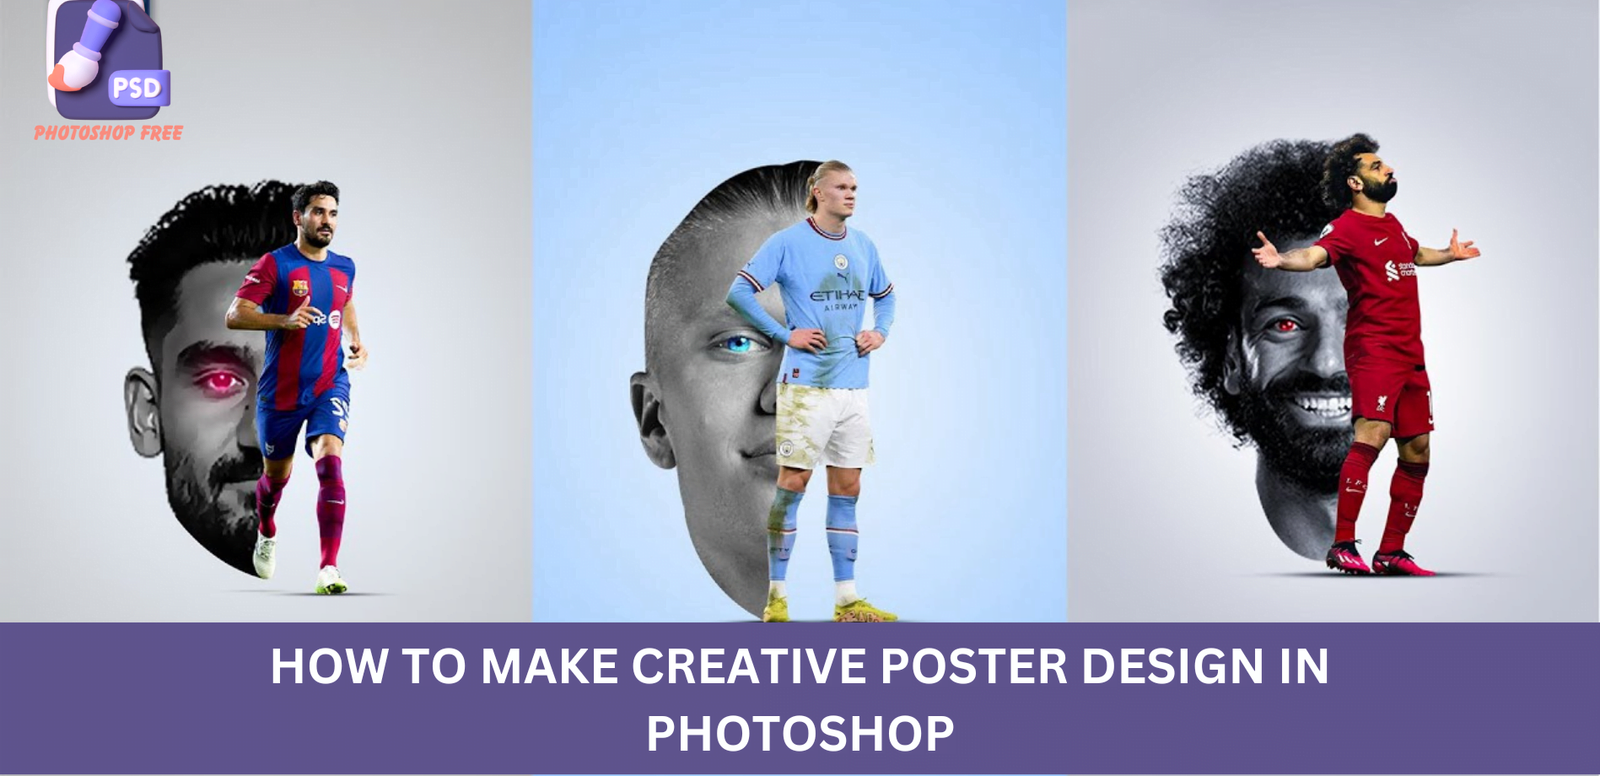
Creative Photoshop Poster Design: In the ever-evolving world of digital design, creating visually appealing posters is an art form that demands a keen eye and mastery of tools like Photoshop. In this tutorial, we will guide you through the intricate process of designing a captivating poster using advanced techniques. Follow the step-by-step instructions to achieve a professional-grade poster that stands out.
Keep visiting Photoshop Free. for latest updates and Tutorials.
Creative Photoshop Poster Design Video Tutorial
Creating a Solid Foundation
1. Open Photoshop and Import Images
Begin by launching Photoshop and importing your primary and secondary images. Ensure the images are of high resolution for a crisp final output.
2. Drag and Drop Images
Efficiency is key. Drag and drop your images onto the main document, positioning them appropriately for your design.
3. Adjust Image Size
Fine-tune the size of the secondary image to complement the overall composition. Achieving a balanced visual hierarchy is crucial.
Refining Image Elements
4. Layer Mask for Seamless Integration
To seamlessly integrate images, add a layer mask. Use a black brush to hide unnecessary areas, ensuring a smooth transition between elements.
5. Black and White Adjustment Layer
Enhance the overall tone by creating a black and white adjustment layer, clipped to the bottom layer. This adds a timeless touch to your design.
6. Levels Adjustment for Contrast
Boost the visual impact by creating a levels adjustment layer. Increase the contrast slightly to make your design pop.
Adding Artistic Flair
7. Solid Color Adjustment Layer
Inject vibrancy by adding a solid color adjustment layer. Experiment with colors and choose one that complements your theme. Clip the mask to the bottom layer.
8. Color Dodge Blend Mode for Drama
Change the blend mode to Color Dodge for a touch of drama. Invert the mask (Ctrl I) and selectively paint over the eyes with a white brush for emphasis.
9. Blending Options for Depth
Double-click on the layer to access blending options. Hold Alt and adjust the blend-if slider to the right, enhancing depth in your composition.
Polishing the Design
10. Fine-Tuning with Brushwork
Create a new layer and use a soft, round brush for final touches. This meticulous process ensures a polished result that captivates the viewer.
11. Merge and Smart Object Conversion
Optimize your design by making a merged copy of all layers. Convert it to a Smart Object for flexibility in further adjustments.
12. Camera Raw Filters for Precision
Open the camera raw filters and apply specific settings to refine details. This step adds finesse to your design, setting it apart from the ordinary.
Achieving the Final Result
With dedication and precision, you’ve successfully crafted a visually stunning poster using Photoshop. The culmination of meticulous adjustments and artistic choices has resulted in a design that demands attention.
Conclusion
In this tutorial, we’ve delved into the intricacies of Photoshop poster design, unravelling the secrets to creating visually striking compositions. By mastering techniques such as layer masking, adjustment layers, and blending options, you can elevate your designs to a professional level. Experiment, refine, and let your creativity flow to produce posters that leave a lasting impression.