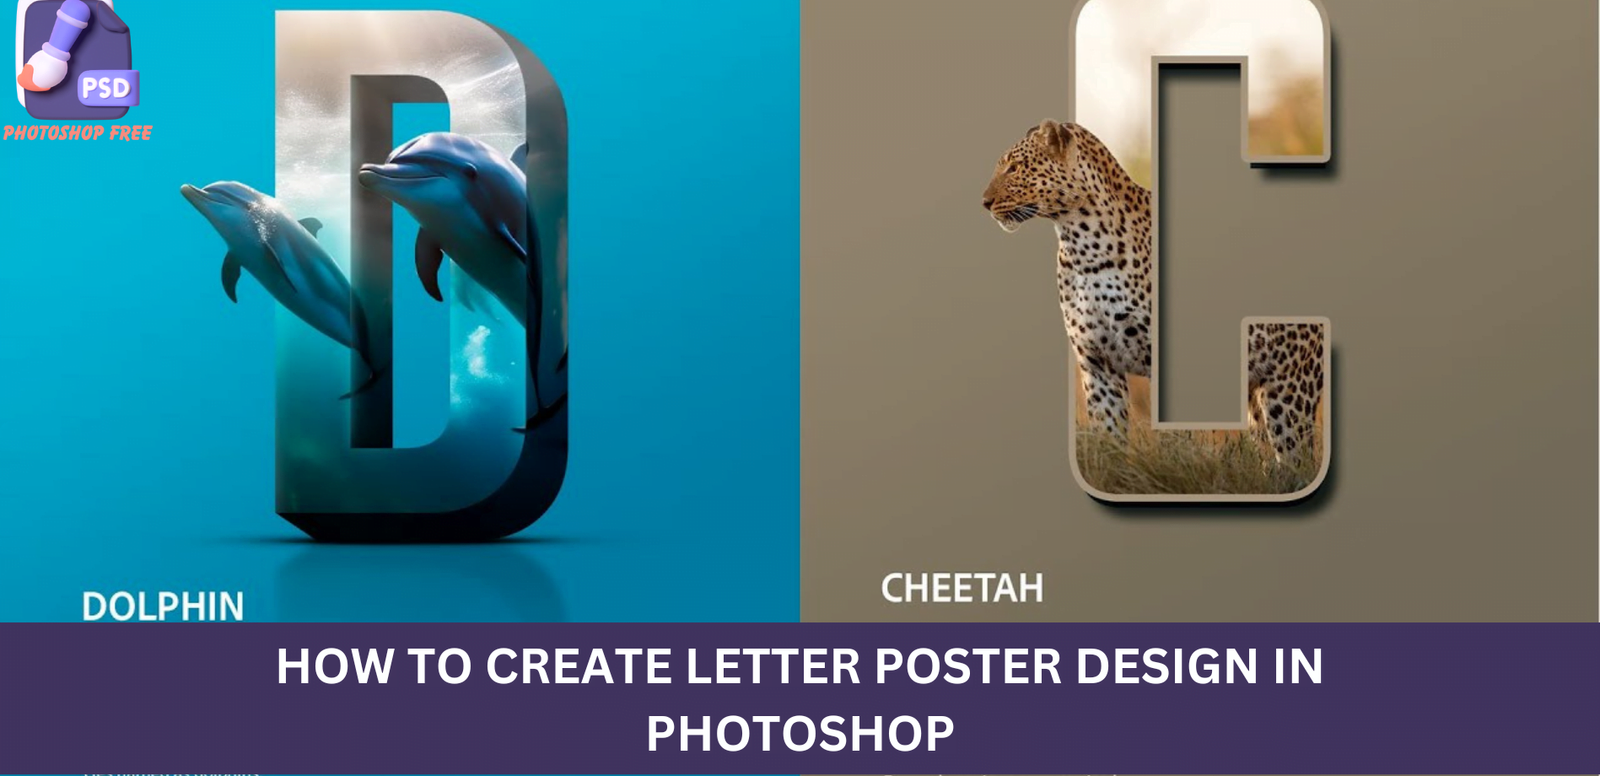
Mastering Letter Poster Design in Photoshop: A Step-by-Step Guide
Letter Poster Design in Photoshop: Creating stunning posters in Photoshop can be a breeze when you know the right techniques. In this comprehensive guide, we’ll walk you through each step to ensure your poster design stands out. From setting the canvas size to adding finishing touches, follow along to elevate your design game.
Keep visiting Photoshop Free. for latest updates and Tutorials.
Letter Poster Design in Photoshop
Setting the Canvas Size
The foundation of any great poster lies in the canvas size. In Photoshop, navigate to the menu and select File. From there, click on New and choose your preferred dimensions for the canvas. Consider factors like poster purpose, display location, and audience to determine the optimal size.
Typography Matters: Using the Type Tool
Your text plays a pivotal role in conveying your message. Activate the Type Tool and start typing your text directly onto the canvas. Experiment with fonts, sizes, and colors to find the perfect combination that aligns with your design vision.
Inserting Images for Maximum Impact
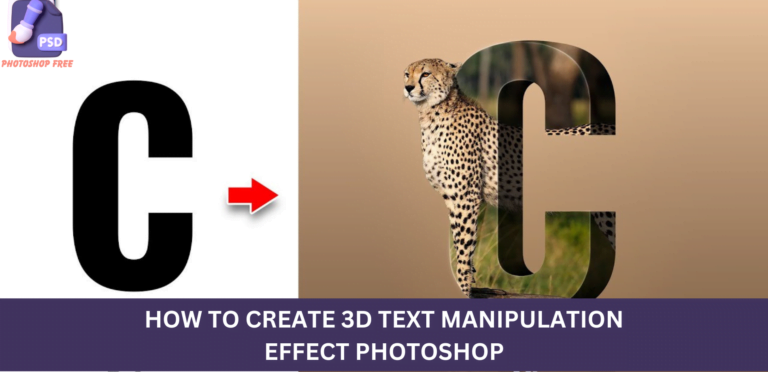
A compelling poster often includes striking visuals. From the File menu, select Place Embedded to insert your chosen image. Ensure it complements your message and enhances the overall aesthetics. Once placed, right-click and choose Flip Horizontal for added dynamism.
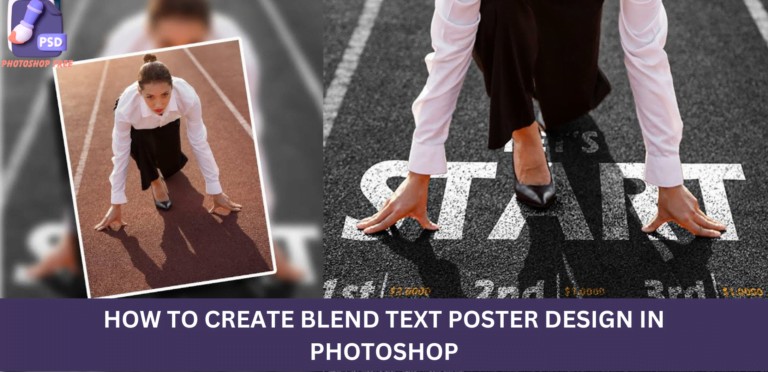
Crafting Depth with Opacity Adjustments
To add depth and subtlety to your text, decrease the opacity temporarily. This allows you to align your image with the text more accurately. After adjustments, reset the opacity back to 100% for a crisp and professional look.
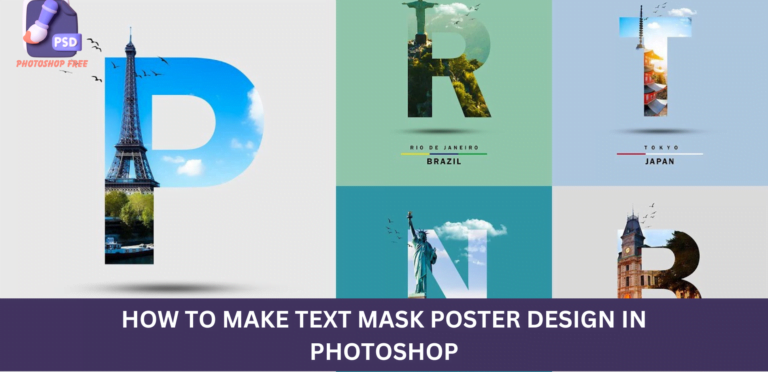
Layer Manipulation for Artistic Flourish
Duplicate the background layer to create a layered effect. Right-click and choose Create Clipping Mask for seamless integration. Select the top layer and head to the Select menu, choosing Subject. Add a layer mask for refined control over your design elements.
Precision in Text Layer Refinement
For precise text refinement, right-click on the text layer and access Blending Options. Within the options, choose Stroke and apply settings that enhance the visibility of your text. Simultaneously, select Drop Shadow with specified parameters for a subtle yet impactful effect.
Conclusion
In conclusion, mastering poster design in Photoshop is not just about technical know-how; it’s about creating a captivating visual experience. Our guide not only equips you with the skills but also ensures your design ranks high in the digital landscape. Elevate your poster game today!