Mastering Movie Poster Design in Photoshop: A Comprehensive Tutorial
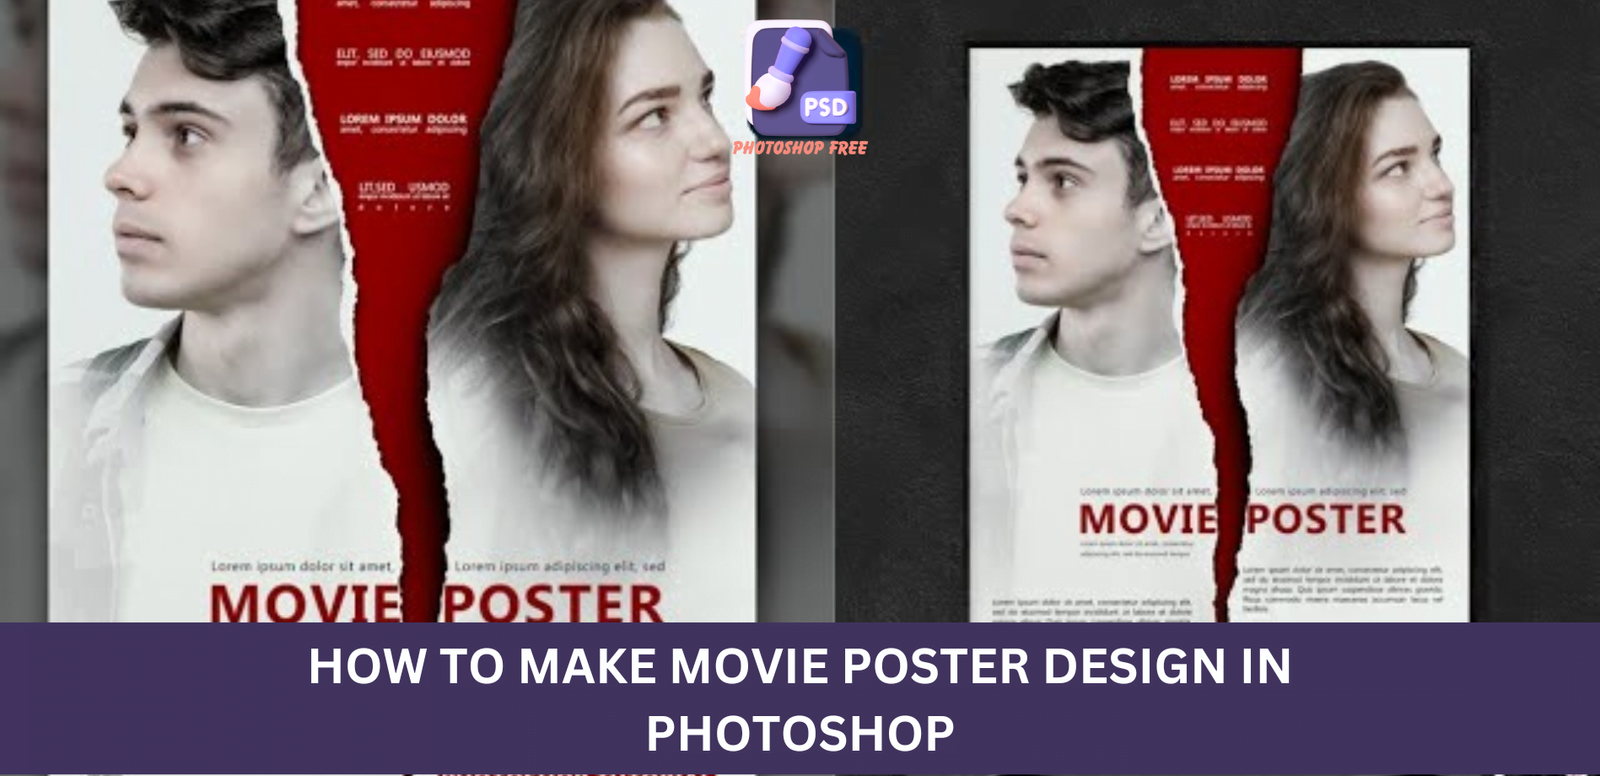
Movie Poster Design in Photoshop: In this tutorial, we delve into the intricate process of creating a captivating movie poster design using Photoshop. Unveil the secrets of professional poster creation step by step and elevate your design skills to new heights.
Keep visiting Photoshop Free. for latest updates and Tutorials.
Movie Poster Design in Photoshop Video Tutorial
Setting the Canvas: A Solid Foundation
Begin by creating a new document in Photoshop with the specified details. To enhance the realism, insert a paper image, the download link conveniently provided in the description. Right-click on the paper layer and choose to rasterize it, ensuring a smooth workflow.
Precision with Magic Eraser and Marquee Tools
Utilize the Magic Eraser tool to seamlessly remove unwanted elements from your composition. Follow up with the Rectangular Marquee tool to precisely select and manipulate the paper image. Employ Ctrl X to cut and Ctrl Shift V to paste in place, ensuring a seamless integration.
Crafting Artistry with Polygonal Lasso and Brush Tools
The magic happens as you wield the Polygonal Lasso tool, carefully selecting areas for enhancement. Armed with the Brush tool, select your desired color sample and paint to fill the selected areas, breathing life into your poster’s design.
Integrating Images: From Selection to Smart Objects
Insert your chosen images and elevate their impact through strategic selections. Utilize the Select Subject option, followed by a mask for a refined composition. Convert these layers into Smart Objects, providing flexibility for adjustments in size and position.
Fine-Tuning with Clipping Masks and Adjustments
Create a clipping mask to precisely control the visual impact of each layer. Delve into the intricacies of black and white adjustment layers, utilizing brush opacity to selectively reintroduce colors to specific elements. Achieve nuanced effects by adjusting layer masks and opacities.
Crafting a Dynamic Composition: Adding a Second Image
For added depth, introduce a second image seamlessly into your composition. Utilize the Select Subject option, employ masks, and strategically flip the image horizontally. Further refine the integration through clipping masks and adjustments, ensuring a harmonious blend.
Embracing Monochromatic Tones: Aesthetic Solid Color Adjustment
Enhance the visual impact with a solid color adjustment layer, opting for a striking red hue. Enter the Filter Gallery to add a touch of film grain, creating a cinematic ambiance. Ensure the adjustment layer is a Smart Object for flexible tweaks.
Adding the Final Flourish: Custom Brushes and Text
Embark on the final step by introducing custom brushes for a personalized touch. Adjust brush opacity to achieve the desired intensity. With finesse, add your text, seamlessly integrating it into the dynamic composition.
The Culmination: A Visually Striking Movie Poster
Witness the fruits of your labour – a visually striking movie poster brought to life through meticulous design techniques. Each step contributes to a seamless and captivating final result, a testament to your newfound mastery in Photoshop.